

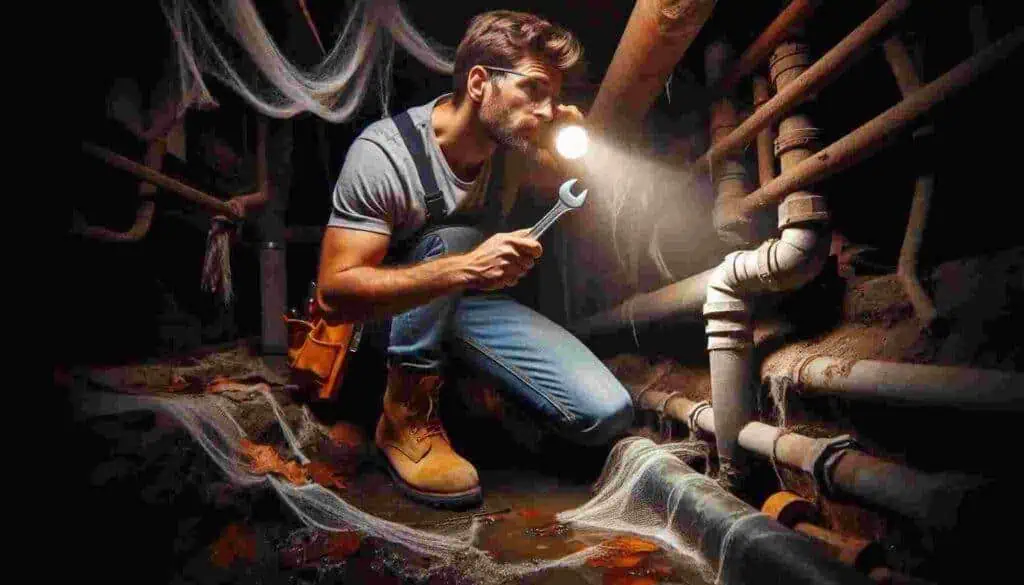
Dealing with a leaking from drain pipe in basement can be stressful. A water leak in the basement can cause a lot of damage, not to mention the inconvenience it causes. Whether it’s a minor drip or a major problem, knowing how to fix a leaky drain pipe in basement can save you both time and money. Let’s walk through the process to restore peace in your home.
What Causes a Leaky Drain Pipe in the Basement?
Before you dive into fixing the problem, it’s important to understand why your drain pipe is leaking in the first place.
Here are a few common causes:
- Corrosion: Over time, pipes can rust and corrode, leading to small holes and leaks. Read more about how to prevent pipe corrosion.
- Clogs: Blockages in the pipe can cause water pressure to build up, forcing water through weak spots.
- Loose connections: Drain pipes may develop leaks if the joints and connections become loose or improperly sealed.
- Wear and tear: Simply put, aging pipes are more prone to cracks, breaks, and leaks.
Tools and Materials You’ll Need
Before getting started, gather these tools and materials:
| Tools | Materials |
| Adjustable wrench | Pipe sealant or plumber’s tape |
| Pipe wrench | Pipe clamp or coupling |
| Bucket | Replacement pipe or fittings |
| Rag or towel | Epoxy putty |
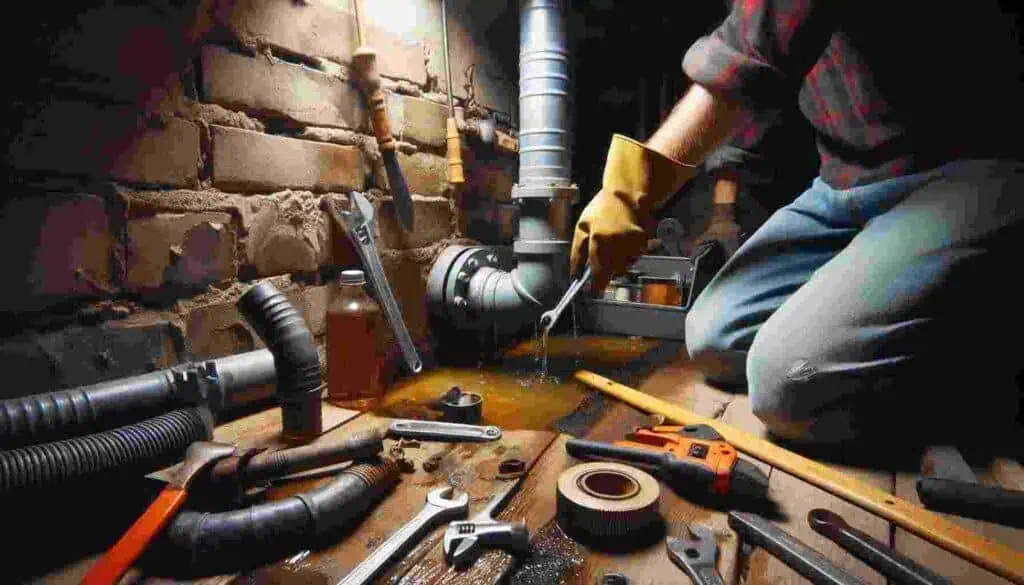
How to Fix a Leaky Drain Pipe in Basement (First Method: Patch the Leak)

If you’ve discovered a small leak in your basement pipe, a patch may be the easiest solution. Here’s a step-by-step guide on how to fix a leaky drain pipe in basement using a patch method:
- Turn off the water supply.
Before you do any repairs, make sure to turn off the water to prevent further leaks. - Dry the pipe.
Use a rag to clean and dry the area around the leak. This will help the patch adhere better. - Apply epoxy putty.
Knead the epoxy putty and press it directly over the leak. Make sure it completely covers the hole or crack. Epoxy putty hardens quickly, creating a watertight seal. - Allow it to dry.
Wait for the putty to harden fully, according to the manufacturer’s instructions (usually 1-2 hours). - Turn the water back on.
Once the putty has cured, turn the water back on to check if the leak is sealed.
How to Fix a Leaky Drain Pipe in Basement (Second Method: Replace the Section)
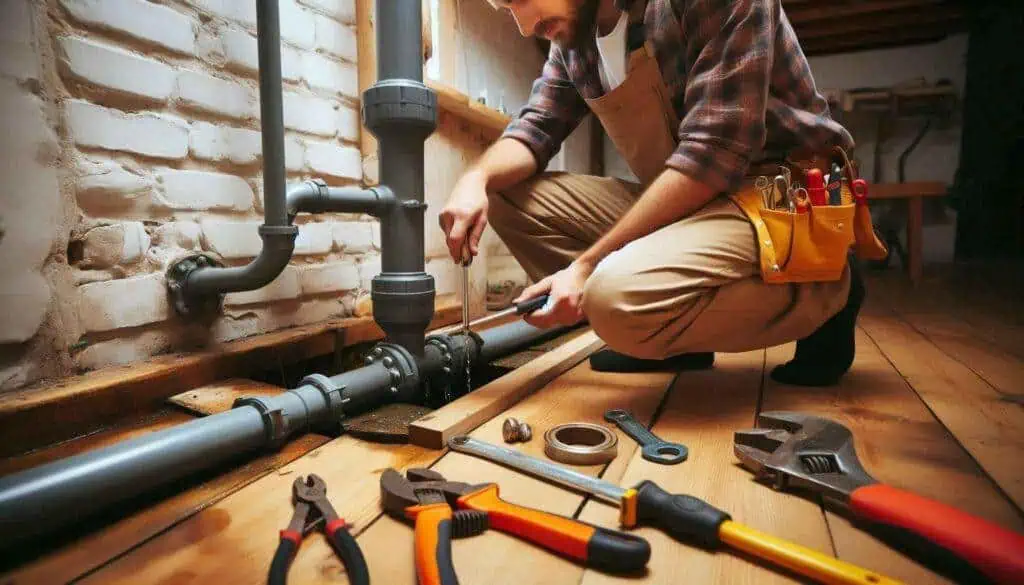
If the leak is more severe or caused by a corroded section of pipe, patching may not be enough. In such cases, it is best to replace the damaged section of pipe. Here’s how:
- Turn off the water.
Just like before, make sure the water is turned off at the main valve. - Cut out the damaged section.
Use a pipe cutter or hacksaw to remove the damaged section. Be sure to make straight cuts for a proper fit when replacing the pipe. - Clean the ends of the pipe.
Use a rag to clean and dry the exposed ends of the pipe. Remove any dirt or debris that could prevent a good seal. - Install the new pipe section.
Fit the new pipe or pipe coupling into place, making sure it matches the size of the old one. Tighten any clamps or fittings as necessary. - Seal the joints.
Apply pipe sealant or plumber’s tape around the joints for extra protection against leaks. - Test for leaks.
Turn the water back on and check for any signs of leaking. If everything looks good, you’re all set!
Prevent Future Leaks: Long-Term Solutions
Now that you’ve learned how to fix a leaky drain pipe in basement, it’s time to think about prevention. Taking the following steps can help avoid leaks in the future:
- Regular inspections: Periodically check the pipes in your basement for any early signs of wear or leakage.
- Proper pipe insulation: In colder climates, insulate your pipes to prevent freezing, which can lead to cracks.
- Routine cleaning: Keep your pipes free from debris and blockages by cleaning your drains regularly.
By staying proactive, you can prevent the heartache and stress of dealing with a leaky drain pipe again.
Preventing Future Leaks
Now that you’ve learned how to fix a leaky drain pipe in basement, it’s a good idea to take preventive measures so you can avoid dealing with leaks in the future:
- Inspect your pipes regularly for signs of corrosion or wear.
- Clean your drains frequently to prevent clogs that may lead to pressure build-up.
- Replace old pipes that are prone to leaking, especially if your home is older.
- Check pipe connections and tighten them if they seem loose.
These simple steps can go a long way in keeping your basement dry and free from costly water damage.
The Emotional Side: Dealing with Stress and Anxiety
You can easily become overwhelmed when you discover a leak in your basement. The potential damage and cost of repairs can cause stress. But remember, you’re not alone. Being a homeowner also comes with unexpected challenges, and handling them step by step, as you’ve just done with how to fix a leaky drain pipe in basement, can help ease anxiety.
Be proud of your accomplishment! You’ve saved yourself from a potentially costly repair, and you’ve learned a valuable skill you can use in the future.
When to Call a Professional
While it’s great to know how to fix a leaky drain pipe in basement, there are times when the problem may require professional help. If the damage is extensive or the leak continues to occur after multiple repairs, it’s best to consult a plumber. Also, if mold has begun to grow or there are signs of structural damage, don’t wait – get a professional evaluation right away.
How to Fix a Leaky Drain Pipe in Basement
Dealing with a leaking pipe in your basement can be very difficult, but it doesn’t have to be a nightmare. By following these steps to how to fix a leaky drain pipe in basement, you can handle the problem efficiently and prevent further damage to your home.
Remember to use the right equipment, assess the type of leak and consider long-term preventative measures to keep your pipes in the best condition possible. And most importantly, rest assured knowing you’ve taken the right steps to protect your home.
Now that you know how to fix a leaky drain pipe in basement, you can rest assured that your basement will stay dry and your home will be protected from costly water damage.
How to Fix Moisture Coming Through Concrete Floor in Basement

Excess moisture coming from a concrete floor in a basement can lead to serious problems such as mold growth, structural damage, and unpleasant odors. Whether you are experiencing mild moisture or large puddles, knowing how to fix moisture coming through concrete floor in the basement is important to the safety of your home. Let’s explore practical steps to fix this problem and keep your basement dry.
Why Does Moisture Come Through Concrete Floors?
Concrete is naturally porous, which means it can absorb and transmit moisture from the ground below. When the ground outside your home becomes saturated, whether due to rain, poor drainage or a high water table, moisture can rise up through your basement concrete floor. Over time, this moisture can deteriorate the floor and potentially affect the overall structure of your home.
Signs of Moisture Coming Through the Concrete Floor
It’s important to recognize the signs of moisture before the problem gets worse. Here are some common signs:
- Damp or wet spots on the floor
- White powdery residue (efflorescence) on the surface
- Musty odors in the basement
- Mold and mildew growth
- Warping or damage to flooring materials (e.g., carpet or wood)
If you spot any of these signs, it’s time to take action.
Steps to Fix Moisture Coming Through Concrete Floor in Basement

1. Inspect the Source of the Moisture
Before beginning any repairs, it’s important to determine where the moisture is coming from. While concrete may self-drain, water may be entering your basement due to poor exterior drainage or cracks in the foundation. Walk around your home and check:
- Gutters and downspouts: Ensure they are directing water away from the foundation.
- Grading: The soil around your house should slope away to prevent water from pooling against the walls.
- Cracks in the walls or floor: Even hairline cracks can allow moisture to enter.
2. Seal Any Cracks
If you find any cracks, start by sealing them. You can use concrete patch or hydraulic cement, which expands as it dries and creates a water-repellent seal. Patch any cracks you see around floors or walls to reduce the chance of water seeping in.
3. Apply a Moisture Barrier to the Floor
A moisture barrier is a critical step in preventing water from rising through your basement’s concrete floor. There are different types of moisture barriers you can apply:
- Liquid sealant: This is a coating that you paint or roll onto a concrete floor. It penetrates the pores of the concrete, forming a barrier that helps prevent moisture from seeping in. Make sure the floor is clean and dry before you apply it.
- Epoxy coating: Like liquid sealant, epoxy is a strong option that provides a durable, waterproof surface. It can also improve the appearance of your basement floor.
- Polyurethane membrane: This material can be applied to act as a moisture barrier underneath flooring materials, such as tile or carpet.
4. Install a Dehumidifier
If your basement still feels damp after installing a moisture barrier, consider installing a dehumidifier. This helps control the moisture level in your basement, keeping it dry and preventing mold from growing.
A good quality dehumidifier can make a significant difference in the feel of your basement, especially in humid climates or during rainy seasons.
5. Improve Exterior Drainage
Since moisture problems often start outside, it’s important to improve your home’s drainage system for long-term results. Here’s how you can ensure proper drainage:
- Extend downspouts: Ensure that your downspouts carry water at least 10 feet away from the foundation.
- Regrade your yard: If water is pooling near the foundation, you may need to regrade the soil to slope away from the house.
- Install French drains: A French drain is a trench filled with gravel and a perforated pipe that redirects water away from the foundation.
6. Consider Installing a Sump Pump
For homes that have persistent moisture problems or high water levels, a sump pump is a valuable solution. A sump pump is installed in a pit in your basement and automatically pumps out any water that collects below the floor, and carries it away from your home.
Long-Term Prevention for Moisture in Basement Concrete Floors
Knowing how to fix moisture coming through concrete floor in the basement is important, but prevention is even better. Here are some tips to keep moisture under control long term:
- Waterproof your basement walls and floor: Apply waterproofing paint or other sealants on the walls and floor to block moisture.
- Install a vapor barrier: If you’re planning to install flooring over the concrete, lay a vapor barrier first to stop moisture from seeping through.
- Improve ventilation: Proper ventilation helps reduce condensation in the basement.
- Monitor humidity levels: Regularly use a hygrometer to monitor humidity levels and keep them below 60% to prevent dampness.
Read More Post:- How To Remove Carpet Tack Strips From a Floor
When to Call a Professional
While DIY solutions can handle many moisture problems, some situations may require professional intervention. If the water problem is severe, you have frequent flooding, or you notice significant cracks in the foundation, it is wise to call in a waterproofing specialist. They can provide solutions such as a drainage system or sump pump installation to keep your basement dry for the long term. moisture coming through a concrete floor in the basement is essential not only to maintain a healthy home, but also to maintain the structural integrity of your home. By sealing cracks, applying moisture barriers, and improving drainage, you can prevent moisture from wreaking havoc on your basement. Remember, proactive maintenance and prevention go a long way in keeping your basement dry, comfortable, and mold-free.
FAQs:-
What tools do I need to fix a leaky drain pipe in the basement?
To fix a leaky drain pipe in the basement, you will need tools such as an adjustable wrench, pipe wrench, pipe sealant or plumber’s tape, epoxy putty, a bucket, a rag, and possibly a pipe clamp or replacement fittings, depending on the severity of the leak.
Can I fix a leaky drain pipe in the basement by myself?
Yes, you can fix minor leaks in the drain pipe yourself with basic tools and materials like epoxy putty or a pipe clamp. However, if the damage is severe or involves large sections of the pipe, you may need to replace parts of the pipe, which might require professional help.
How do I find the source of the leak in my basement drain pipe?
To find the leak, inspect the pipe for visible signs of water damage, such as rust, drips, or moisture buildup around joints and connections. Sometimes you may need to dry the area with a rag and watch closely to pinpoint where the water is leaking from.
What type of sealant is best for fixing a leaky drain pipe?
Pipe sealant tape (also known as Teflon tape) or epoxy putty is commonly used for minor leaks. Epoxy putty is ideal for filling holes and cracks, while pipe sealant tape works well for sealing loose joints and fittings.
How long does it take for epoxy putty to seal a leak in a drain pipe?
Epoxy putty typically takes around 1 to 2 hours to fully cure and create a watertight seal. Be sure to follow the manufacturer’s instructions for the specific product you are using.
1 thought on “How to Fix a Leaky Drain Pipe in Basement?”